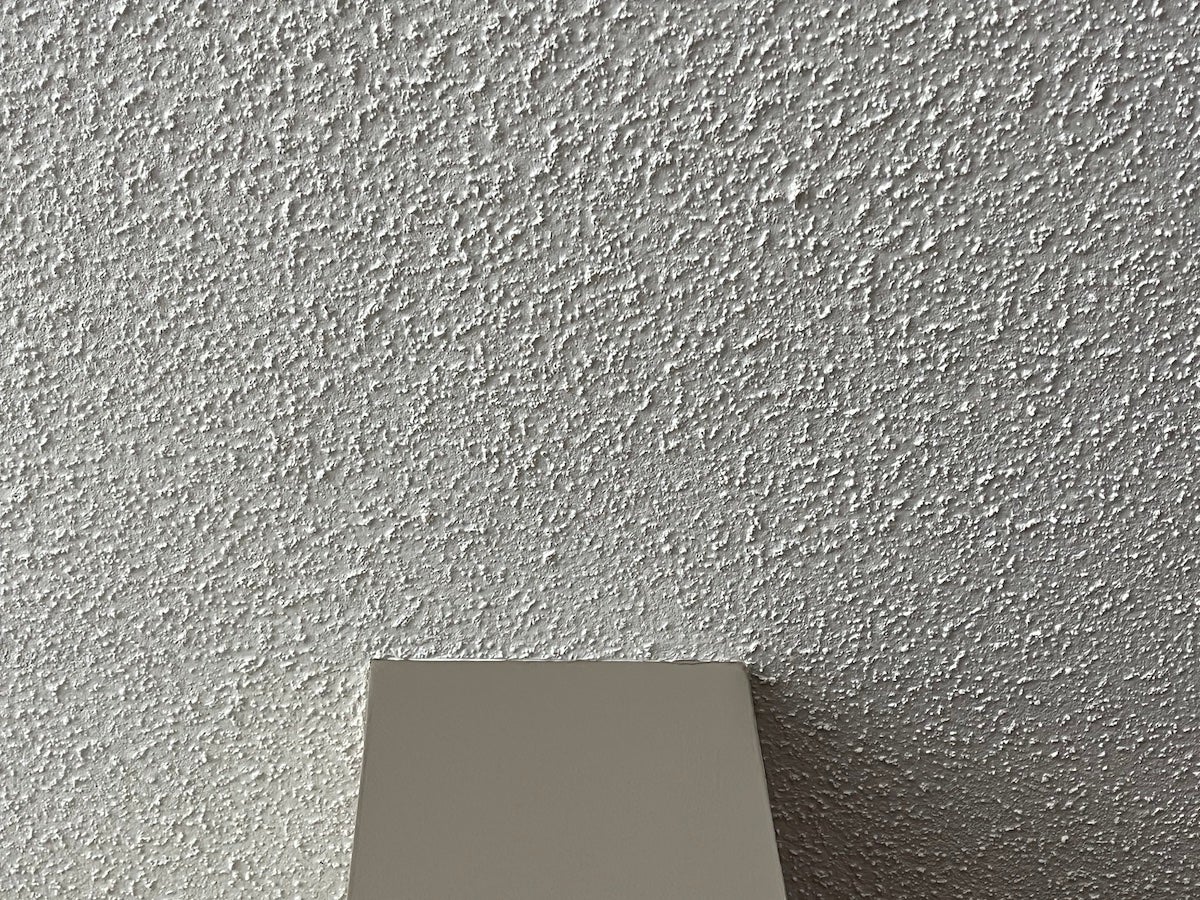
 Of all the DIY projects you might want to do in your home, removing “popcorn ceiling” may be among the most cautious. It’s not simply a “scrape, repair and paint” job.
 Because these textured ceilings became popular decades ago, there’s a chance it contains some asbestos, which its carcinogenic content is a known health hazard. Asbestos was in the “popcorn” plaster used in ceilings for strength and as a fire retardant. So if your home was built before 1986 or has a popcorn ceiling that old, you’ll want to make sure it’s asbestos-free.
The experts say this is best done by a professional, although there are asbestos test kits available that are reportedly sometimes inaccurate.
Once you know it’s safe, you probably also know this can be a messy job. To start, spray water on a small area (a closet might be a good place), wait 15 minutes for it to soak in, and then scrape to see how easily the stipple is to remove. If it’s easy, you’re off on the right foot. If it’s not, you may want to consider putting fresh gyproc over top of the entire ceiling — this also removes any asbestos concerns you might have.
Because it’s a dusty process, cover or ideally remove all furniture from the room. Line the walls and cover the floor with plastic sheeting. Since you’ll be spraying water, turn off electrical breakers.
Once you’re ready to proceed: spray, wait and scrape. Then repeat that. It’s also advisable to catch all debris with containers or garbage bags as much as possible. When you’re finished, expect to do small repairs to the ceiling, which means mudding and sanding to make the repaired areas smooth again.
Add a couple of coats of paint, and you’re done. Like all DIY projects, it’ll be cost-effective and satisfying.